❤️ Fly-through Valentine's map with Mapbox 🗺️!
- 5 minsThe Gist
For Valentine’s day I decided to use my interest in spatial data to come up with something creative for my girlfriend. I knew I wanted to make a map of some sort of places we’ve been together. At first I thought of making a static map but then I remembered a blog post that showed how to use Mapbox and a little bit of javascript to make a fun fly through map and turn it into a website hosted on Github (just like this blog). Check it out here or down below.
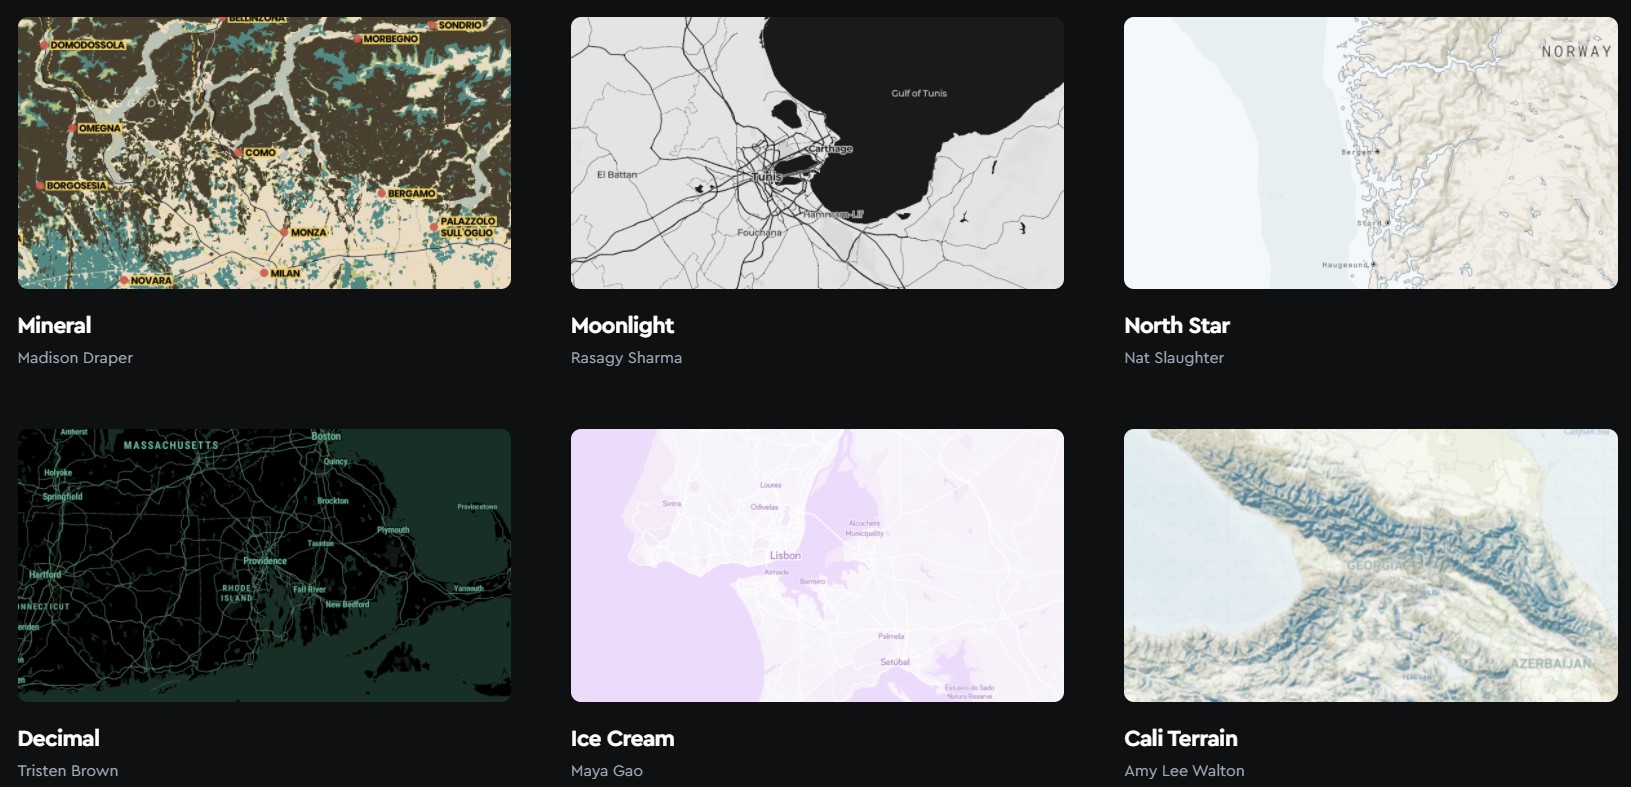
What is Mapbox?
Mapbox is a service that offers online web maps. There is a lot of opportunity to create stylized and customized basemaps. I recall playing around with this product back in one of my GIS classes and it was a lot of fun.
What you need to make the map
- Mapbox account and an access token
- Github account (that you haven’t used to host a page yet)
- Spatial data (lat/longs)
- (Optional) Photos
Step 1. Get a Mapbox account
First create a Mapbox account it’s free! The only caveat being that with a free account you’ll only be given a limited number of tile requests. For a small project like this, it’s probably fine but just be aware of that. You can see the full limitations of what a free account will get you here.
Step 2. Get your Mapbox access token
Once your account is created you’ll need your access token to request tiles for your webmap. Go to your account, click create access token.
Step 3. Create a Github account
Github allows you to create a website for free that will look like username.github.io. Follow the instructions here. The quick and dirty of it all is that once you set up a repo that follows the convention username.github.io, you can create a page that will be hosted by Github!
Step 4. Collect your spatial data
All you need to create this map are a series of latitudes and longitudes in decimal degrees. For this project, I went through my photos and figured out which locations I wanted to display. I decided on our first couple of dates and vacations we’ve been on together. I collected the locations in a spreadsheet, and then got the latitude and longitudes. Google Photos has a feature that shows you where a photo was taken with a link to Google Maps if the photo was geotagged. Luckily most of mine were, so I simply followed the link and got the coordinates. Maybe as a follow up post I’ll think of a way to programatically extract the coordinates from the EXIF data.
Step 5. Create your site!
Use this template to create your map!
At its most simplest, all you need to do is:
- Add your own Mapbox access token
- Create your sections that can include text, photos, etc
- Set your section’s location, zoom level, pitch
Add access token
Navigate to the section where you can enter you token
mapboxgl.accessToken = 'PASTE YOUR ACCESS TOKEN HERE';
Add section content
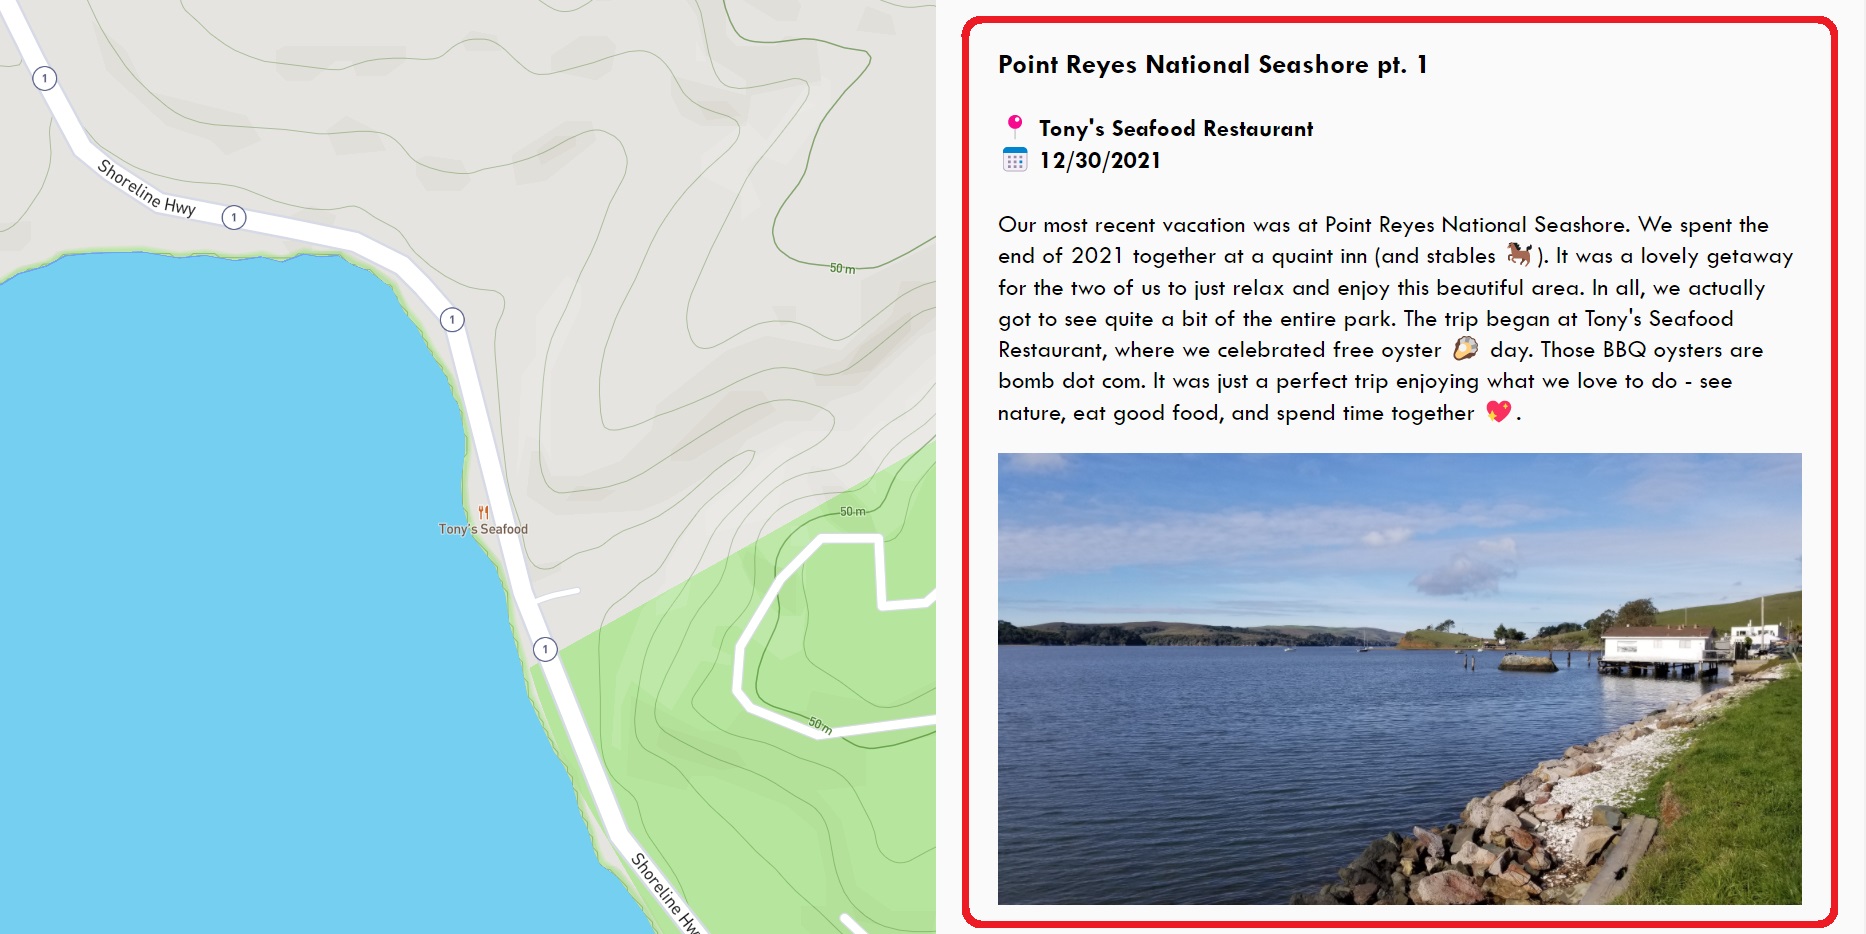
Next add headers, text, and photos for a section that you want to create. This is what the html looks like and what the output looks like. Very simple html here. All I’ve done is add a couple of headers, a paragraph, and and image. One thing to note is that this is encapsulated by the section id which I’ve labeled as tonys. Each section id will be used to identify the section and to link the coordinates, zoom, and pitch for the fly through aspect of this map.
    <section id='tonys'>
        <h3>Point Reyes National Seashore pt. 1</h3>
        <h4>📍 Tony's Seafood Restaurant </br>📅 12/30/2021</h4>
        <p>
            Our most recent vacation was at Point Reyes National Seashore. We spent the end of 2021 together at a quaint
            inn (and stables 🐎). It was a lovely getaway for the two of us to just relax and enjoy this beautiful area.
            In all, we actually got to see quite a bit of the entire park. The trip began at Tony's Seafood Restaurant,
            where we celebrated free oyster 🦪 day. Those BBQ oysters are bomb dot com. It was just a perfect trip
            enjoying what we love to do - see nature, eat good food, and spend time together 💖.
        </p>
        <img src="/images/tonys.jpg" alt="Tony's Seafood Restaurant", width = 100%>
    </section>
Add location data
Further down below you’ll see the script section. This is where the Mapbox map is initiated and where we will define some key aspects of our fly through sections.
'tonys': {
        bearing: -0,
        center: [-122.8832,38.1469],
        zoom: 16,
        speed: 0.8,
        pitch: 0
    }
This bit of javascript controls the ‘camera options’ of the fly through animation for this specific section. You can read about these options in detail here, but I’ll give a quick description for the options listed here.
- bearing: the compass direction (in degrees) that is up
- center: the center of your map given in latitude/longitude (decimal degrees)
- zoom: the zoom level of your map (higher = more zoomed in)
- speed: the speed at which the map will ‘fly’ to the location
- pitch: the angle towards the horizon (in degrees)
Related Posts

Tom Pham
COVID-19 Data Analyst